Archive for the ‘Announcements’ Category


Using Gradient Meshes in Illustrator CC can be challenging, but also very rewarding! When you learn how to work with mesh patches, Mesh points, and fill selected areas, you can get very realistic effects like the sample above by Isroslav Lazunov. Please check out the link to the tutorial for the light match project above:

It has come to my attention that the below link is not working, so try this one:

Go to: https://design.tutsplus.com/tutorials

and type this in the search box: create-a-burning-vector-match-using-gradient-meshes

The tutorial will be the first link that shows up! Give it a try and let me know what you think!


Image of Monet's Cliff Walk at Pourville painted in 1882
Cliff Walk at Pourville (1882) by Claude Monet. Original from the Art Institute of Chicago. Digitally enhanced by rawpixel.


Whether it’s a Renaissance painting or a contemporary sculpture, the word ‘art’ is usually
linked with pieces of work at a gallery or museum. However, art encompasses far more than
what is presented in galleries. Without being aware of it, we are surrounded by art and use it
continually. Most people don’t realize how much of a role art plays in our lives and how much
we rely on art in all its forms in our everyday lives.

Fine art has a long history and continues to be an essential component of modern life,
impacting many aspects of society and culture. Fine art enriches our lives by transforming
areas of meditation, refreshment, and inspiration into our tangible environment. The limitless
variety of materials and genres of art available today means that everyone may view and
purchase art that speaks to them.

Viewing meaningful and inspirational works of art may favorably improve one’s viewpoint,
and fine art has several mood-boosting benefits. For example, simply walking through a
gallery can help you feel better and relieve stress, while buying and shopping for art can
provide a longer-term benefit.

Art in the Residence

You almost certainly have some art in your home. A painting, poster, or photograph on the
wall will be the first thing that comes to mind. If you don’t have any of these items on your
walls, don’t worry; looking around, you’ll be astonished at how much art you have! Art isn’t
just for gazing at and enjoying; it may also have a practical purpose, especially in our
homes. Everything from a charmingly patterned quilt on the bed, decorative tea towels, or
that adorable pink heart-shaped teapot to a sleek computer case or an angle-poised desk
lighting might be deemed art.

Art is Educational

Fine art is educational, which is one of the reasons why it is so essential. In addition, art may
help people of all ages and abilities since it displays various visual, historical, spiritual, and
emotional notions.

Beginning to browse and learn about art from a young age is especially advantageous since
it gives instruments for teaching core life skills such as color, line, form, and space. In
addition, as young art enthusiasts mature, they will not only learn about various periods of
art, media, and styles, but they will also be able to apply what they have learned about art to
a range of other disciplines such as history, sociology, psychology, and literature.
If you’re an artist, you can get ideas for your work by looking at the work of others. In
addition, you may learn from others and incorporate what you enjoy about other styles into
your work.

Other creative processes can be influenced by art. For example, take colors from a favorite
work of art for any graphic design or interior design project. Consider how you may use
the patterns and shapes blended in the piece of art into your own creative decisions. If we
are open and attentive to the world that art reveals to us, it can inspire us in so many
aspects of our life.

For more ways you can incorporate Fine Art into your everyday life check out: http://www.ArtistsWeLove.etsy.com

Image of Claude Monet's painting Bordighera, painted in 1884
Bordighera (1884) by Claude Monet. Original from the Art Institute of Chicago. Digitally enhanced by rawpixel.

0872_Mouse_morning_dew_final

How to paint the above painting

https://design.tutsplus.com/articles/create-a-heart-warming-wildlife-illustration-in-photoshop–psd-26248

Welcome to class!!

Click on the bubble shape to the right of this post, and answer the following questions. (This will appear in the “Comments” section)

  1. Are you pursuing a certificate in Digital Arts or Digital Media? What are your educational goals?
  2. Do you have prior experience with Illustrator, Photoshop, and InDesign? What type of projects have you done?
  3. Do you have the software at home to use? Which version? Are you a suscriber to Creative Cloud?
  4. Have you ever used a tablet and stylus to enter artwork or data into the computer?
  5. What do you hope to accomplish in this class? What are your goals?

Please email me your three favorite digital painting samples! You can also attach them here in the comments section to this blog entry. Just Click on the balloon shape to the right of this blog post, and comment. No website is required.

Here’s what I have so far:

Art chosen by Vincent Mendez:

man with dog
By Muhammad Nafay

castle image-1
By Scott Wills

hill path
By Amir Zand

Art chosen by Aaron Smith:

qbrpilt

atey-ghailan-162
ned-rogers-bloodborne-01-comp


Don’t forget to bring your cameras and/or smartphones to class tomorrow, 1/30/2019, so we take pictures of some textures, on campus.  We will go out on a photo excursion, on campus, during class time. The photo textures will be used in Photoshop.

free_texture_friday_205-1024x768

greenery-shadow-water-texture

water-bubbles-textures


Required Textbook:

Digital Painting in Photoshop: Industry Techniques for Beginners

digital painting in photoshop

Product details

  • Paperback: 288 pages
  • Publisher: 3dtotal Publishing; Comprehensive edition (December 18, 2018)
  • Language: English
  • ISBN-10: 190941476X
  • ISBN-13: 978-1909414761
  • Product Dimensions: 8.3 x 1.2 x 11.6 inches
  • Shipping Weight: 3 pounds

Learn how to paint digitally in Adobe Photoshop; the key professional software for illustrators, video game artists, and the CG industry. Inside Digital Painting in Photoshop: Industry Techniques for Beginners is everything the budding digital painter needs to know about the customizable Photoshop interface, its efficient tools, essential painting brushes, and complex layers and masks. Explore the endless possibilities of digital painting through three highly detailed step-by-step tutorials which look intricately at key processes and techniques. Discover how to subtly integrate photo textures, create custom brushes, and generate impressive effects to develop your own incredible artworks. Digital Painting in Photoshop: Industry Techniques for Beginners is an essential guide for beginners, students, and those who want to learn more about how to harness the significant power of Photoshop as a painting tool.


Other supplies:

2.  Flash drive or portable drive (The Larger the better!)
(You need to have a working file, not a .jpeg or .pdf, to work on in class)

3.  Cloud Membership, Google Drive, or Dropbox.
4.  Access to Photoshop CC, Illustrator CC, and Painter
5.  Copyright and royalty free photos or preferably, take your own photos.

Optional supplies:

6. Tablet – such as Wacom Intuos Pro

bjunvhtcfcsqmcvbvojcmo-480-80
7. Glove for tablet

s-l1600


Microsoft Word - Digital Imaging Flyer W Logo.docx

Hi! There are still a few seats left for the Digital Imaging class starting January 28th, at 1:00 pm – 3:10 pm at Golden West College.  You will be amazed at the possibilities. Hope to see you there!

I still have room available in my class, You can still enroll, with my signature this week. Contact me at aburger@gwc.cccd.edu or burgeralice5@gmail.com. The room is actually Room #203.

Movie Poster Instructions

Posted: October 21, 2017 in Announcements

1.  Set up your document to be 12” x 18”, or 16” x 20” with a resolution of 300 pixels per inch, for print.

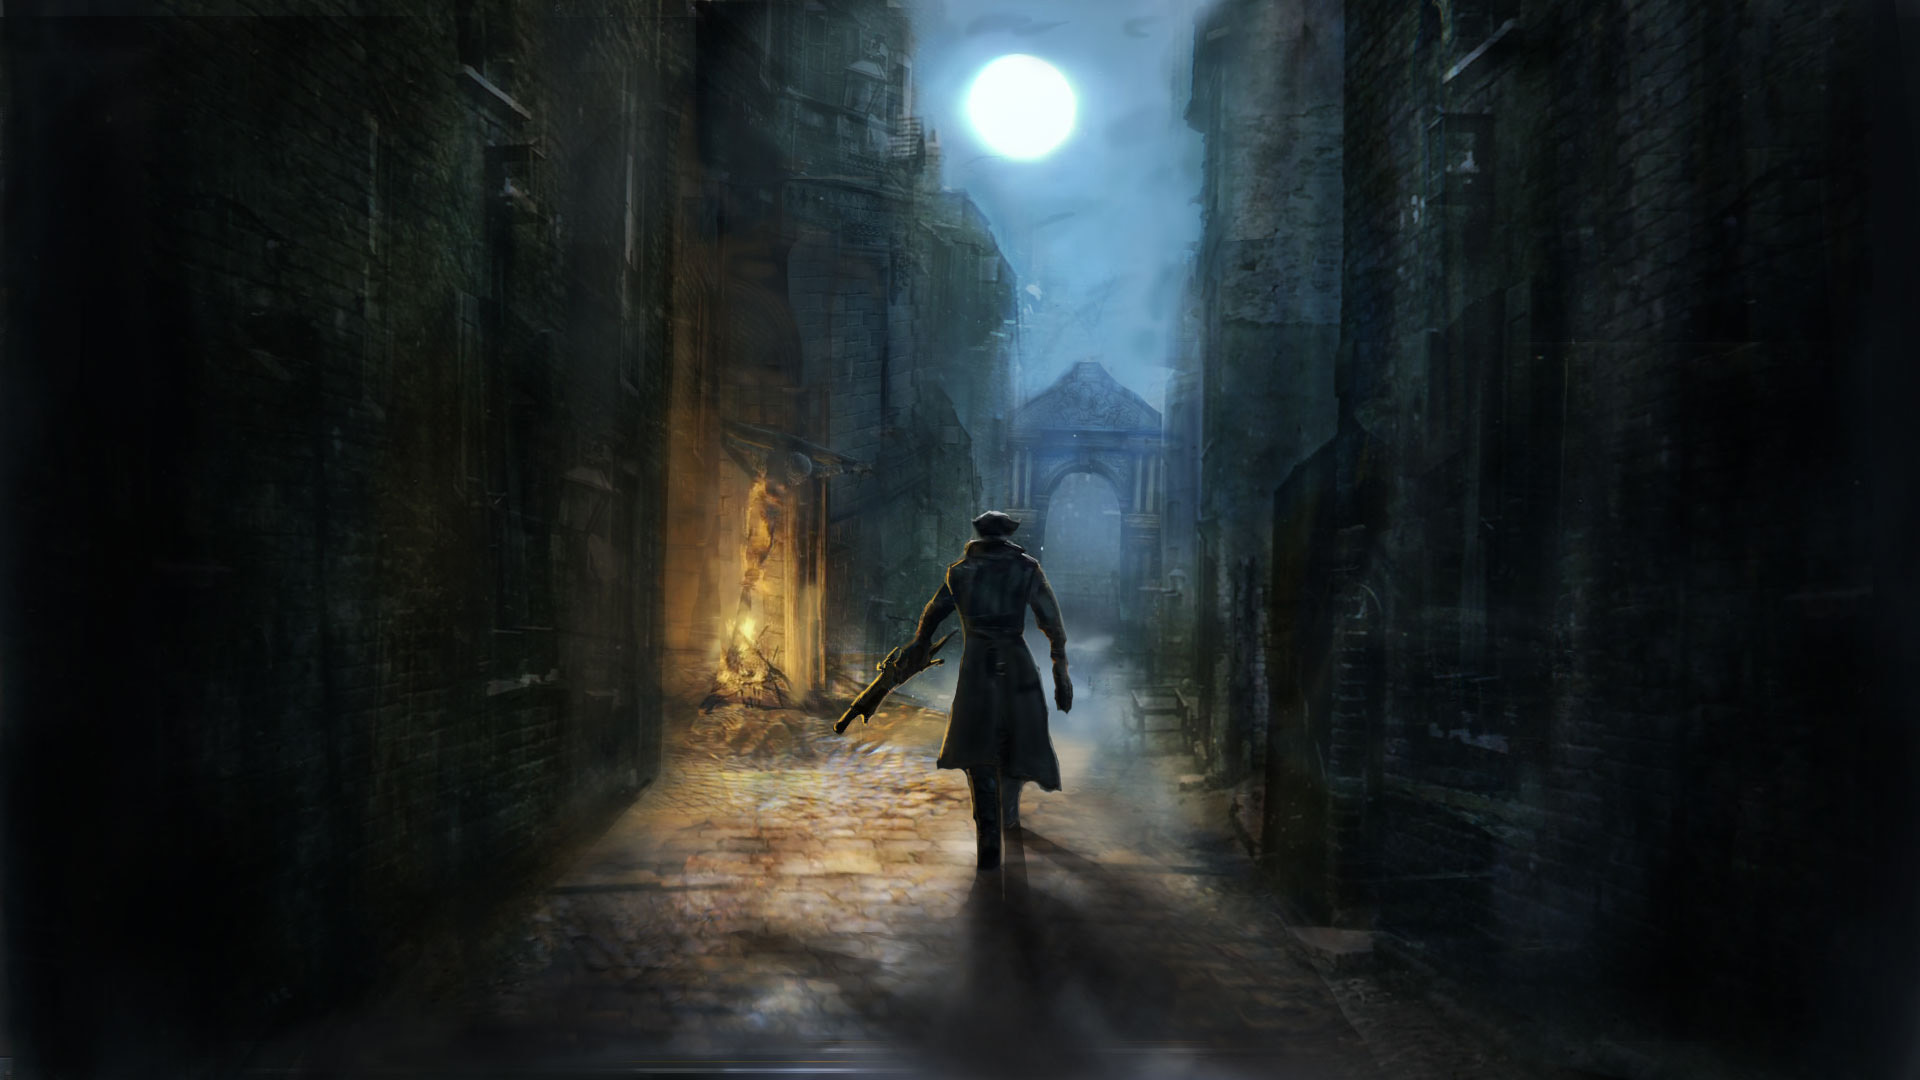
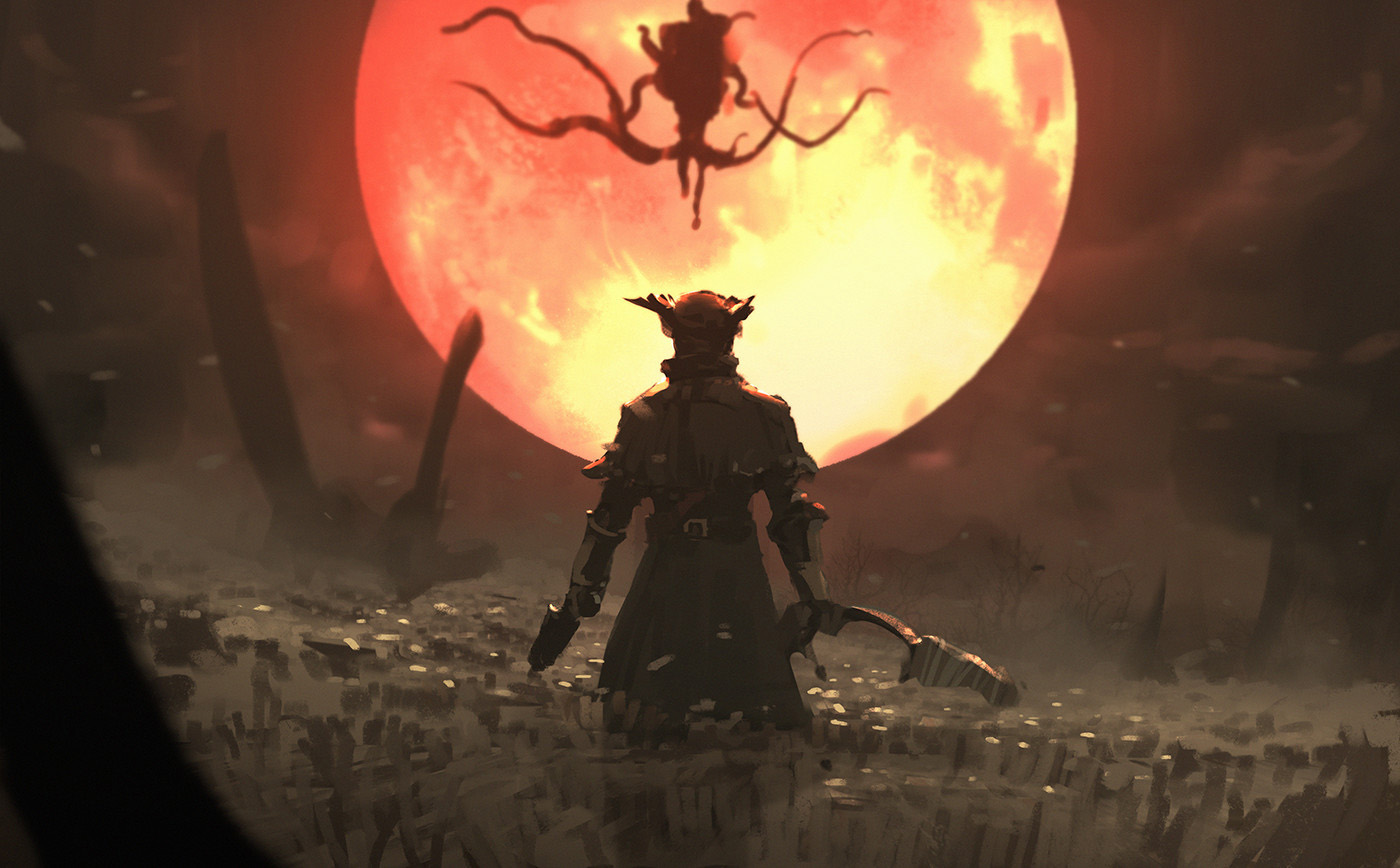
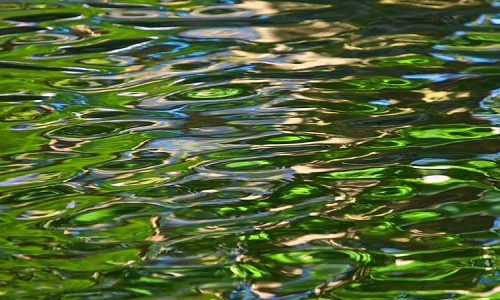
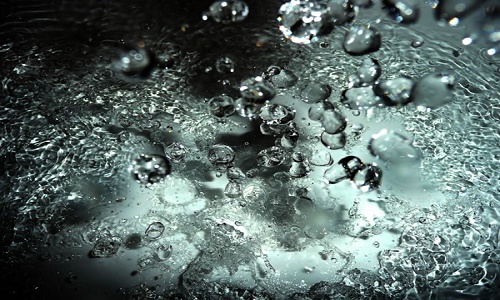
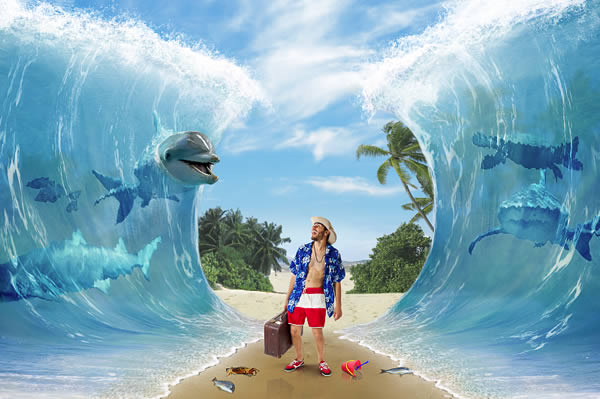
2.  Combine at least 7 pictures. Any combination of odd number of photos/pictures is good, as long as you have at least seven. The imbalance works to cause movement in your finished poster. You can use one large background photo, or make your background a combination of photos.

Make sure that all of your photos are high resolution, larger than 1024 pixels or even 2 MP, in size. They should hold up at 100% in Photoshop, without any square pixels visible in the image.

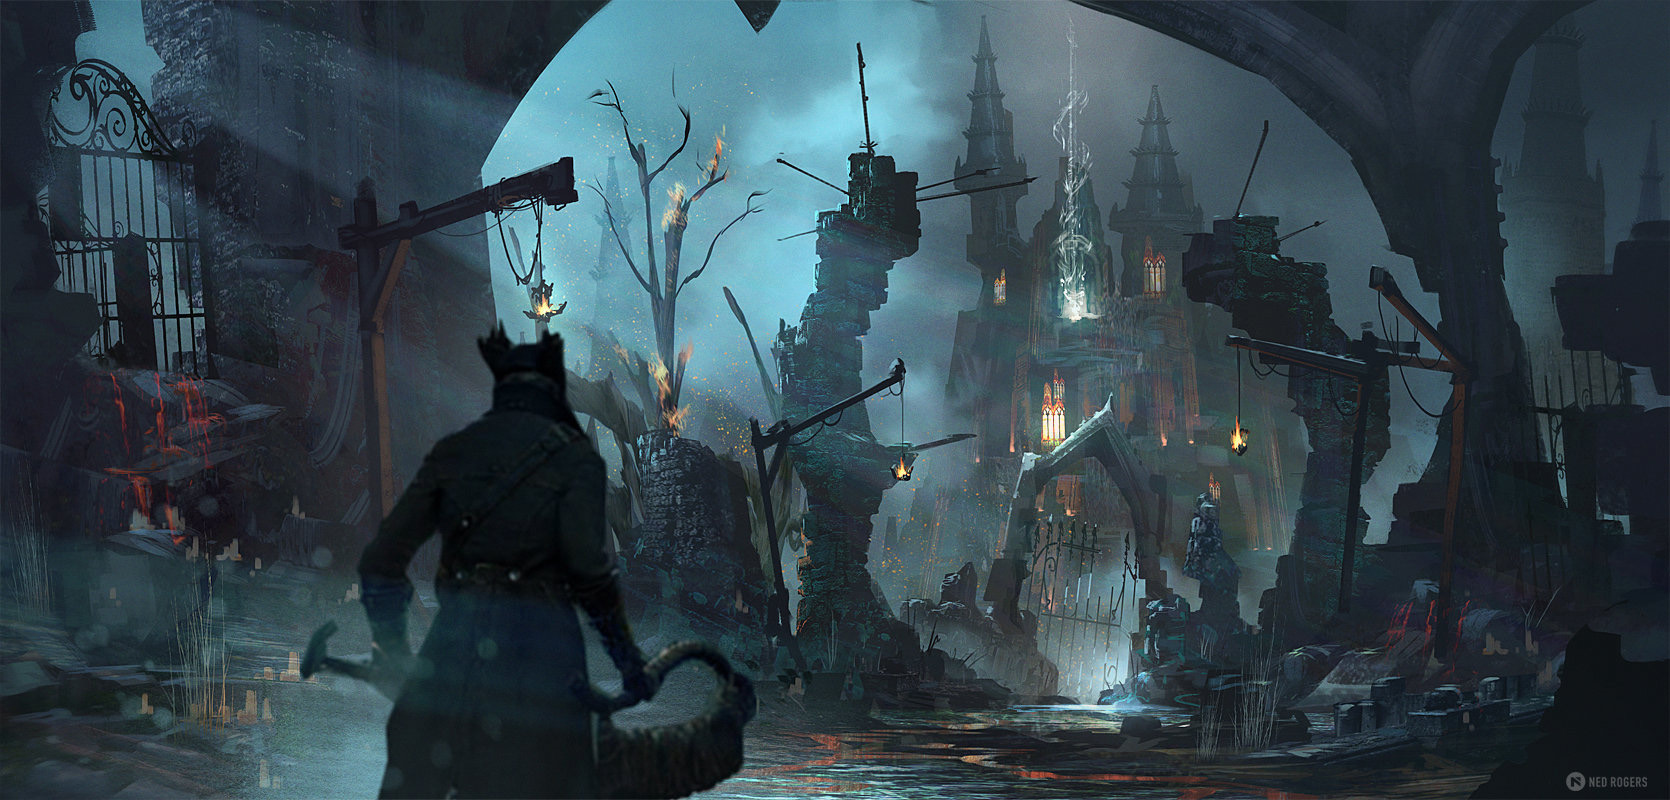
The combination of photos should be seamless. In other words, they should blend together, without any sharp or straight edges visible. Use Masks to accomplish this.

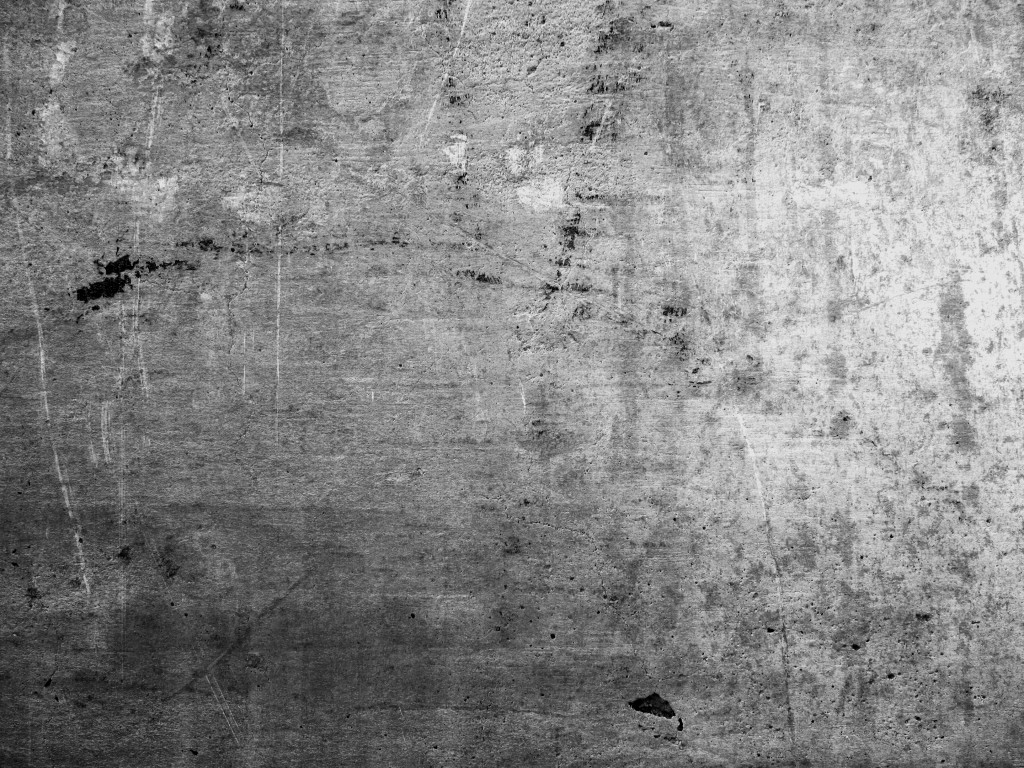
3.  Do a google search for textures, and include some of these textures in your poster, by use of masking, lowering the opacity, and incorporating different blending modes.

4.  Use a Solid Color Adjustment layer, with the opacity lowered, to unify all of your photos from your different photo sources, or to give a warm or cool tone to your poster. You can also try out Gradient Adjustment layers, or Gradient Map Adjustment layers to add dramatic color to your poster, lowering the opacity as you would for a Solid Color Adjustment layer.

5.  Make a Dramatic Title Text for your Movie. No Flat/Plain text is allowed. You must use FX on the text, such as Bevel and Emboss, Drop Shadows, Inner Glow, Outer Glow, Pattern Overlay, Clipping Masks, etc. I have changed the requirement for this….No .jpeg image from the web can be used for your title. You must type and create all of your text for your movie poster. Only studio logos, and source Photos can be used from the internet. Research Special Effects with Text on the internet and see what tutorials you can find to help you create a dynamic title text for your poster.

6.  Make sure that you include all of the following items on your poster:

  • Title
  • Actors/Actresses names
  • Producer
  • Studio Logo
  • Studio Name
  • Web address for movie
  • Movie Rating.

You will upload the layered .psd file to Blackboard, with a Word document outlining your steps. Please label it: LastName_FirstName_Poster.psd

* You can download some cool Movie type fonts for your poster at:  http://www.1001fonts.com/Movie-fonts.html

* I would also recommend the following website for cool typography: http://www.dafont.com

Edit


Installing Brushes

Much like installing actions, installing brushes is a very easy process. Follow these simple steps:

1. If you don’t have any brushes, grab a set from the great selection available on Creative Market.

2. Download the zip file containing your brushes and unpack the contents of the file. This will reveal a new folder containing a few other files, one of which is a .ABR brush file.

Brush Files

3. You can either drag this .ABR file directly into your Photoshop window, or you can go under Edit > Presets > Preset Manager, select Brushes from the dropdown menu, and then add your brushes using the “Load” button.

Menu Presets

Preset Manager

That’s all there is to it. Once your brushes are loaded into Photoshop, you hit the letter ‘B’ to select your brush tool and then you can choose from your different brushes using the dropdown in the top toolbar.

Brush Toolbar

Using Brushes

After you’ve selected the brush you’d like to use, all you have to do is start clicking. As we mentioned above, you can use single clicks for a single placement of the brush stroke, or you can hold the mouse button down and drag your cursor around the screen to create some cool effects. If you notice your brush size is too big, or you just don’t quite like the look of the marks its creating, you can control the sizemodeopacity, and flow of the brush using the settings in the top toolbar.

Brush Controls

And if you’re really feeling adventurous, you can dig into the more advanced settings by opening the brush panel on the right side of Photoshop. If you have the patience for trial and error, tweaking these settings can lead to some really cool things.

Brush Settings2

If you learn better by watching these steps in action, check out this great video tutorial from John Shaver of Design Panoply and Photoshop Video Tutorials. For those of you interested in following along, you can download the demo content here.

Easy peasy, right? To get started playing around with some brushes of your own, check out these great products from the marketplace.

53 Aztec Watercolor Brushes Watercolor Flowers Brush Pack 1

80 Large Bokeh Brushes 32 Varied Photoshop Lighting Brushes

Kyle's Ultimate Drawing Set 1912 French Geometrie Brushes

Sponge Smears Brush Pack 1 Tuff Textures Vol 1

If you want to learn more about the ins and outs of Photoshop, there are a wealth of videos available at Photoshop Video Academy, and we’ve compiled our favorite plug-ins to make your life even easier.

Keep an eye out for more How-To’s to come and happy creating!

Free lettering worksheets

Download now!

img

Getting started with hand lettering?

Download these worksheets and start practicing with simple instructions and tracing exercises.

Parting the Sea with Photoshop!

Posted: September 2, 2017 in Announcements

Premium_206_Wave_tut_image_600px

Photoshop has changed how we view the world. Check out this cool tutorial where you can part the Sea!

Click on the link below and sound off about this video!

For a link to the instructions and Sourcematerial,

Go to     https://design.tutsplus.com/tutorials/

Then do a search for: create-a-surreal-parting-of-the-sea-photo-manipulation–psd-20968