Archive for October, 2017

Movie Poster Instructions

Posted: October 21, 2017 in Announcements

1.  Set up your document to be 12” x 18”, or 16” x 20” with a resolution of 300 pixels per inch, for print.

2.  Combine at least 7 pictures. Any combination of odd number of photos/pictures is good, as long as you have at least seven. The imbalance works to cause movement in your finished poster. You can use one large background photo, or make your background a combination of photos.

Make sure that all of your photos are high resolution, larger than 1024 pixels or even 2 MP, in size. They should hold up at 100% in Photoshop, without any square pixels visible in the image.

The combination of photos should be seamless. In other words, they should blend together, without any sharp or straight edges visible. Use Masks to accomplish this.

3.  Do a google search for textures, and include some of these textures in your poster, by use of masking, lowering the opacity, and incorporating different blending modes.

4.  Use a Solid Color Adjustment layer, with the opacity lowered, to unify all of your photos from your different photo sources, or to give a warm or cool tone to your poster. You can also try out Gradient Adjustment layers, or Gradient Map Adjustment layers to add dramatic color to your poster, lowering the opacity as you would for a Solid Color Adjustment layer.

5.  Make a Dramatic Title Text for your Movie. No Flat/Plain text is allowed. You must use FX on the text, such as Bevel and Emboss, Drop Shadows, Inner Glow, Outer Glow, Pattern Overlay, Clipping Masks, etc. I have changed the requirement for this….No .jpeg image from the web can be used for your title. You must type and create all of your text for your movie poster. Only studio logos, and source Photos can be used from the internet. Research Special Effects with Text on the internet and see what tutorials you can find to help you create a dynamic title text for your poster.

6.  Make sure that you include all of the following items on your poster:

  • Title
  • Actors/Actresses names
  • Producer
  • Studio Logo
  • Studio Name
  • Web address for movie
  • Movie Rating.

You will upload the layered .psd file to Blackboard, with a Word document outlining your steps. Please label it: LastName_FirstName_Poster.psd

* You can download some cool Movie type fonts for your poster at:  http://www.1001fonts.com/Movie-fonts.html

* I would also recommend the following website for cool typography: http://www.dafont.com
Edit


Installing Brushes

Much like installing actions, installing brushes is a very easy process. Follow these simple steps:

1. If you don’t have any brushes, grab a set from the great selection available on Creative Market.

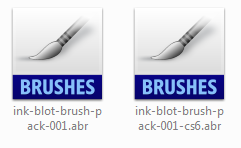
2. Download the zip file containing your brushes and unpack the contents of the file. This will reveal a new folder containing a few other files, one of which is a .ABR brush file.

Brush Files

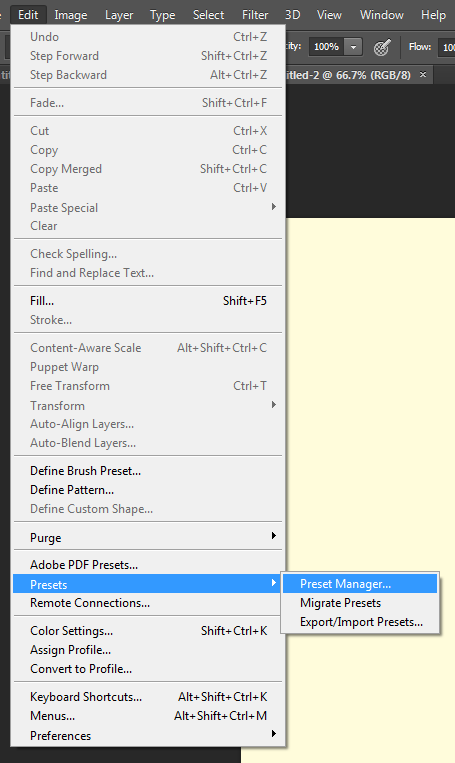
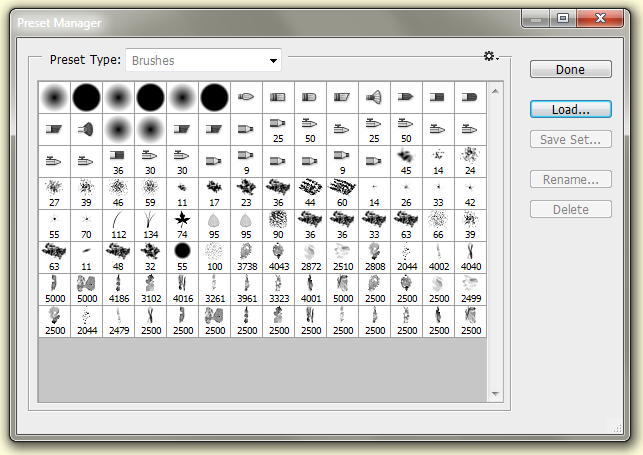
3. You can either drag this .ABR file directly into your Photoshop window, or you can go under Edit > Presets > Preset Manager, select Brushes from the dropdown menu, and then add your brushes using the “Load” button.

Menu Presets

Preset Manager

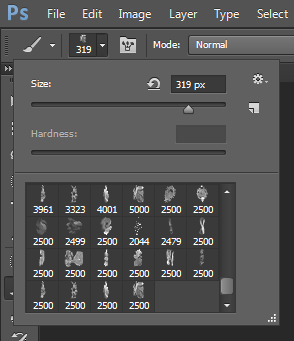
That’s all there is to it. Once your brushes are loaded into Photoshop, you hit the letter ‘B’ to select your brush tool and then you can choose from your different brushes using the dropdown in the top toolbar.

Brush Toolbar

Using Brushes

After you’ve selected the brush you’d like to use, all you have to do is start clicking. As we mentioned above, you can use single clicks for a single placement of the brush stroke, or you can hold the mouse button down and drag your cursor around the screen to create some cool effects. If you notice your brush size is too big, or you just don’t quite like the look of the marks its creating, you can control the sizemodeopacity, and flow of the brush using the settings in the top toolbar.

Brush Controls

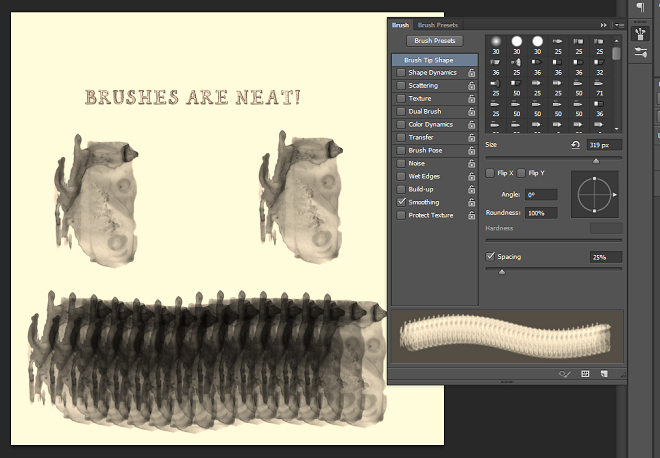
And if you’re really feeling adventurous, you can dig into the more advanced settings by opening the brush panel on the right side of Photoshop. If you have the patience for trial and error, tweaking these settings can lead to some really cool things.

Brush Settings2

If you learn better by watching these steps in action, check out this great video tutorial from John Shaver of Design Panoply and Photoshop Video Tutorials. For those of you interested in following along, you can download the demo content here.

Easy peasy, right? To get started playing around with some brushes of your own, check out these great products from the marketplace.

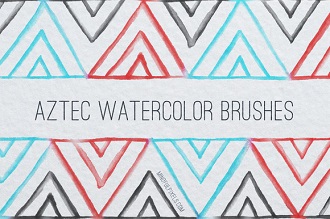
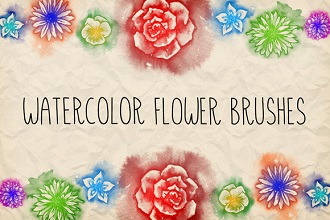
53 Aztec Watercolor Brushes Watercolor Flowers Brush Pack 1

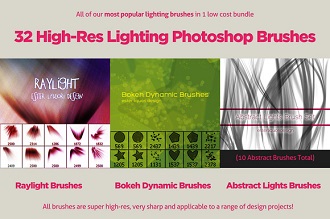
80 Large Bokeh Brushes 32 Varied Photoshop Lighting Brushes

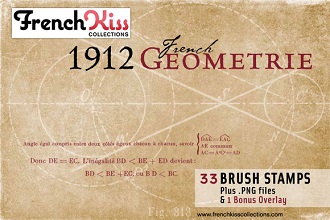
Kyle's Ultimate Drawing Set 1912 French Geometrie Brushes

Sponge Smears Brush Pack 1 Tuff Textures Vol 1

If you want to learn more about the ins and outs of Photoshop, there are a wealth of videos available at Photoshop Video Academy, and we’ve compiled our favorite plug-ins to make your life even easier.

Keep an eye out for more How-To’s to come and happy creating!

Free lettering worksheets

Download now!

img

Getting started with hand lettering?

Download these worksheets and start practicing with simple instructions and tracing exercises.