Here’s a great link for a fake HDR in just a few steps. Try it out and let me know what you think.
Archive for March, 2015
Please check out the PhotoshopDaily website for great tutorials for Photoshop, as well as some cool screensavers that you can download for your computer.
Check out this recent episode of Kelby TV for some great Photoshop workarounds.
Movie Poster Instructions:
1. Set up your document to be 12” x 18”, or 16” x 20” with a resolution of 300 pixels per inch, for print.
2. Combine at least 7 pictures. Any combination of odd number of photos/pictures is good, as long as you have at least seven. The imbalance works to cause movement in your finished poster. You can use one large background photo, or make your background a combination of photos.
3. Make sure that all of your photos are high resolution, larger than 1024 pixels or even 2 MP, in size. They should hold up at 100% in Photoshop, without any square pixels visible in the image. Please view your poster at Actual size, to make sure you see no pixelation. Go to http://www.bigfoto.com, or morguefile.com, or another free photo website, where photos are royalty free.=
4. The combination of photos should be seamless. In other words, they should blend together, without any sharp or straight edges visible. Use Masks to accomplish this.
5. Do a google search for Free Photo textures, or use Textures that you shoot yourself, or go to http://www.bigfoto.com or morguefile.com or other free image websites. Include some of these textures in your poster, by use of masking, lowering the opacity, and incorporating different blending modes.
6. Use a Solid Color Adjustment layer, with the opacity lowered, to unify all of your photos from your different photo sources, or to give a warm or cool tone to your poster. You can also try out Gradient Adjustment layers, or Gradient Map Adjustment layers to add dramatic color to your poster, lowering the opacity as you would for a Solid Color Adjustment layer.
7. Make a Dramatic Title Text for your Movie. No Flat/Plain text is allowed. You must use FX on the text, such as Bevel and Emboss, Drop Shadows, Inner Glow, Outer Glow, Pattern Overlay, Clipping Masks, etc. I have changed the requirement for this….No .jpeg image from the web can be used for your title. You must type and create all of your text for your movie poster. Only studio logos, and source Photos can be used from the internet. Research Special Effects with Text on the internet and see what tutorials you can find to help you create a dynamic title text for your poster.
8. Make sure that you include all of the following items on your poster:
- Title
- Actors/Actresses names
- Producer
- Studio Logo
- Studio Name
- Web address for movie
- Movie Rating.
You will upload the layered .pdf file to Blackboard, along with a screen shot of the layers palette, and a Word document outlining your steps. Please label it: LastName_FirstName_Poster.pdf
* You can download some cool Movie type fonts for your poster at: http://www.1001fonts.com/Movie-fonts.html
* I would also recommend the following website for cool typography: http://www.dafont.com
The Pro Photo Show is this week in Pasadena! Get a free expo pass for the next day and 5 hours! Go to:
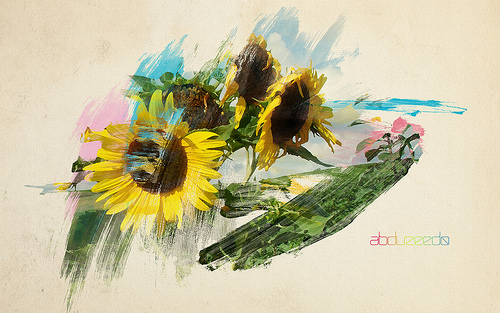
Check out this great tutorial for a Watercolor Effect in Photoshop!
Posted: March 12, 2015 in AnnouncementsThis very artsey effect only has ten steps to a completed painting! Thanks Abduzeedo for sharing!
http://abduzeedo.com/super-cool-watercolor-effect-10-steps-photoshop
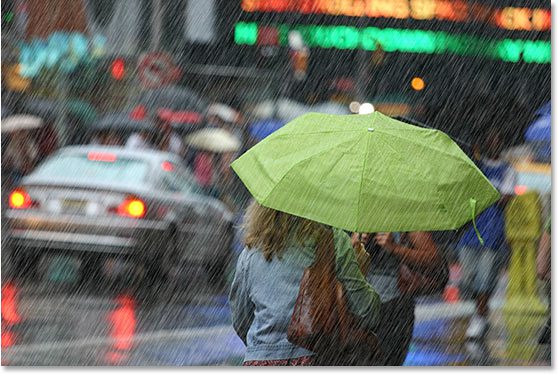
Check out this easy and fun tutorial for a realistic rain effect. Expanding the canvas size or using the Crop tool to expand the canvas really does knock out that dark area on the sides for this effect. Check out the link below:


